How to Use an Israeli Bandage: Step by Step
How to use an Israeli bandage step by step: which size to buy, when to pack a wound with gauze first, when a tourniquet is better, and how to store it.
 By Mike Dawson
8 min read
BLUFBottom line up front
Put the sterile pad on the wound, wrap the elastic once around the limb, feed it through the pressure bar, reverse direction and wrap over the bar until bleeding stops, then lock the end in the clip. Call 911, and use a tourniquet instead if the bleeding is life-threatening on an arm or leg.
- The built-in pressure bar gives you a pressure dressing you can apply one-handed, even on yourself.
- Pad on the wound, wrap once, feed through the bar, reverse, wrap over the bar, secure with the clip.
- Deep wounds in the groin or armpit may need packing with gauze first. Hemostatic gauze is the military’s choice for that.
- If blood soaks through, or the limb is bleeding hard, go to a tourniquet. A bandage is not a cure-all.
- Buy sealed, from a seller you can name, check the date and take a Stop the Bleed class.
Draw list What to get, and why
| Item | Why | Rough cost |
|---|---|---|
| Israeli bandage, 4 inch | Fits a hand, forearm or lower leg | About $8-15 |
| Israeli bandage, 6 inch | Wider, for a thigh, upper arm or torso | About $10-20 |
| Kaolin hemostatic gauze, sealed | For deep wounds you can’t wrap, such as groin or armpit | About $30-50 |
| Plain roll gauze | Backup for packing a wound | A few dollars |
| Tourniquet, real and sealed | For limb bleeding a bandage can’t hold | About $30-40 |
| Nitrile gloves | Protect you from blood | A few dollars |
Rather watch it?
I cover this in a video: 11 Things Veterans Buy at an Army Surplus Store That Civilians Ignore.
Plays from YouTube when you click it.
A normal bandage covers a wound. It does not stop serious bleeding. For that you need pressure, and your hands are not free if you are the one holding it.
The Israeli bandage solves this. It is a pressure dressing with a plastic bar built in, and it is one of the most useful things you can pack in a home first-aid kit. This guide explains how to use an Israeli bandage, what sizes to buy, and when it is the wrong tool.
This is information, not medical training or care. Call 911 for any serious bleeding, take a hands-on class and never skip a doctor when one is available.
What an Israeli bandage is
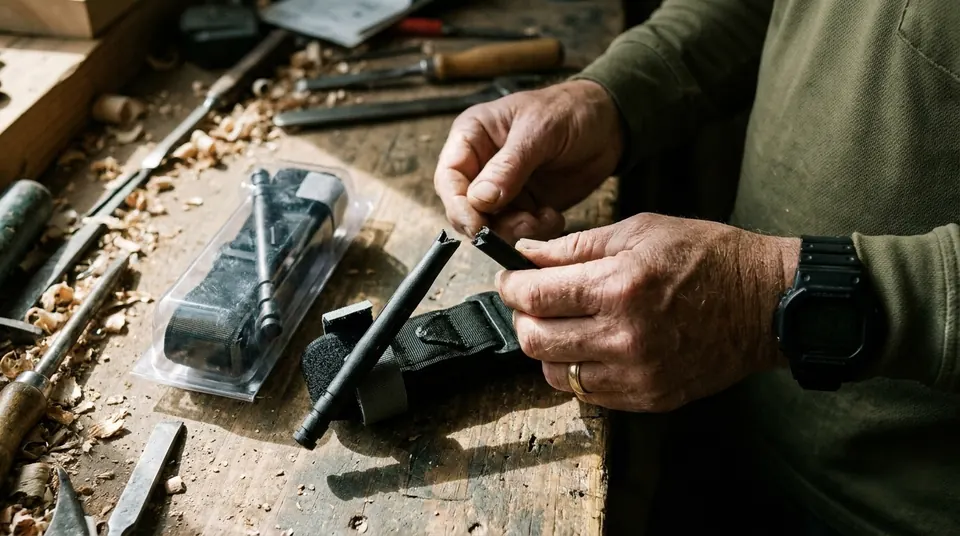
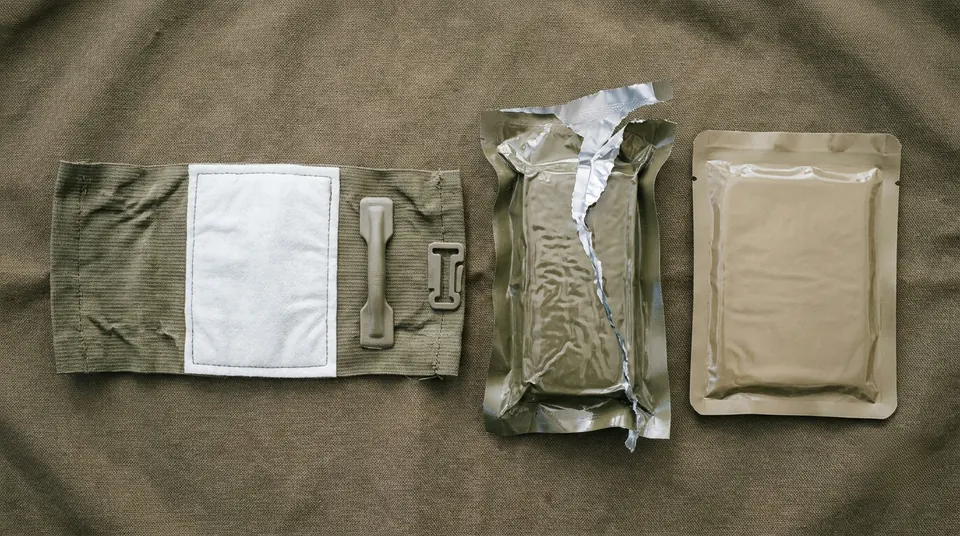
It is a sterile pad sewn onto a long elastic wrap, with a plastic pressure bar next to the pad. A clip at the end of the wrap holds the tail so it doesn’t unravel.
It was designed by Bernard Bar-Natan, an Israeli military medic. According to the history on Wikipedia, he found in 1984 that the bleeding-control bandages issued to trainees dated back to 1938 or 1942. Medics were told to press a stone onto wounds that wouldn’t clot. He set out to build the pressure into the bandage. A company later sold it to the US military, and today it sits in trauma kits from police cars to hunting packs. Many makers now sell versions of the design under several names, including “emergency bandage” and “trauma dressing.”
Why it beats a plain bandage: a regular gauze wrap gives you cover and a little pressure. The bar lets you crank real pressure down on the pad and lock it. That frees your hands to call for help or treat someone else.
How to use an Israeli bandage, step by step
Steps differ a little by brand, so read the instructions printed on your package. This is the general pattern.
- Call 911 or get someone to. Put on gloves if you have them.
- Open the package and keep the pad clean. Don’t touch the side that goes on the wound.
- Place the pad directly on the wound.
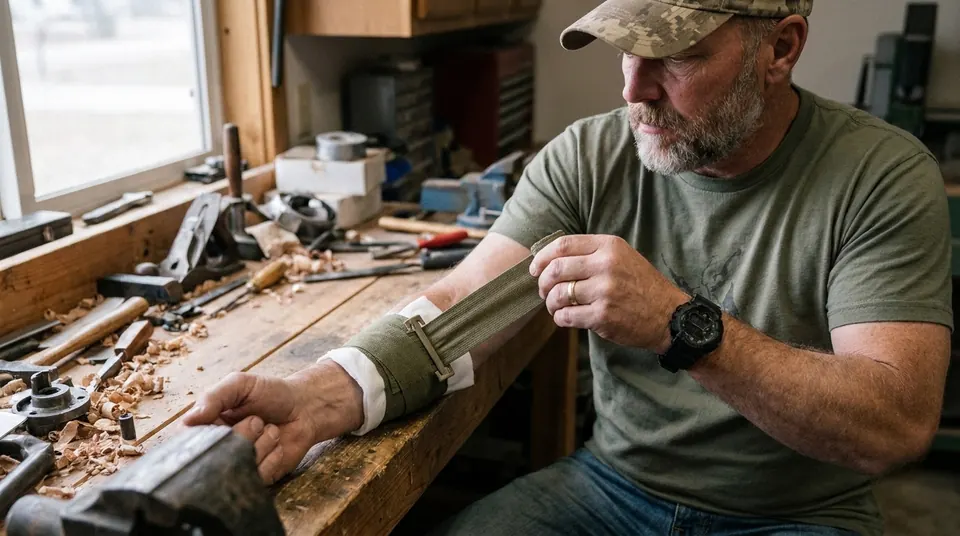
- Wrap the elastic once around the limb to hold the pad in place.
- Feed the wrap through the pressure bar. The bar sits next to the pad.
- Reverse direction. Pull the wrap back the other way, over the bar. This is the twist that drives the bar down hard onto the pad.
- Keep wrapping over the bar, firmly, covering the whole pad.
- Secure the end with the clip so the tail stays put.
- Check below the bandage for color, warmth and feeling. If fingers or toes turn pale, cold or numb, it is too tight. Loosen and re-wrap.
- Watch for blood coming through. If it soaks through, do not remove the first bandage. Add pressure and consider a second dressing on top, or a tourniquet if the bleeding is on a limb and life-threatening.
One-handed and self-application
Practice with one hand. In a real emergency the injured person may be you, and your other hand may be hurt. Use your teeth to hold the pad end if you must, and pin the wrap against your body. A class is the best way to try this with someone watching.
Sizes
Common sizes are 4 inch and 6 inch wide, and some makers also sell an 8 inch model. A 4 inch bandage fits a hand, forearm or lower leg. A 6 inch bandage covers a thigh, upper arm or torso better. Buy one of each if you can. Brands vary in length of elastic, so check the package.
When to pack the wound first
Some wounds are deep, in places where you can’t press hard from the outside, and blood keeps coming from somewhere you can’t reach. These are usually junctional areas: the groin, armpit, neck and shoulder. A bandage alone may not do it.
For these, the military uses hemostatic gauze. You pack it firmly into the wound, directly toward where the blood comes from, and then hold hard pressure. The DoD’s Stop the Bleed site says to “pack it firmly into the wound and hold pressure on it”, and says it is meant for areas where a tourniquet won’t work.
Army lesson: Early in the Iraq and Afghanistan wars, medics used a clotting granule that could get hot enough to burn. Combat Gauze, impregnated with kaolin (a mineral clay that activates clotting), has been on the Committee on Tactical Combat Casualty Care (CoTCCC) recommended list since 2008. Plain gauze, packed well, still helps. The clay adds some help. Most of the work is the packing and the pressure.
How long to hold pressure depends on the product. Some instructions say to hold for several minutes, with 3 minutes being common, but check the instructions that come with your gauze and ask in a class. Don’t let up to peek.
Once packed and held, a pressure bandage can go over the top to keep it in place.
When a tourniquet is the right tool instead
An Israeli bandage is a good first choice for many bleeds. It is not the right tool for all of them. Use a tourniquet when:
- bleeding from an arm or leg is life-threatening and spurting, or pooling fast;
- the bandage soaks through quickly;
- you can’t hold pressure and treat other people at the same time.
TCCC guidance places a tourniquet about 2-3 inches above the wound, on the skin, never over a joint. See how to spot a fake tourniquet for what to buy and how to avoid counterfeits.
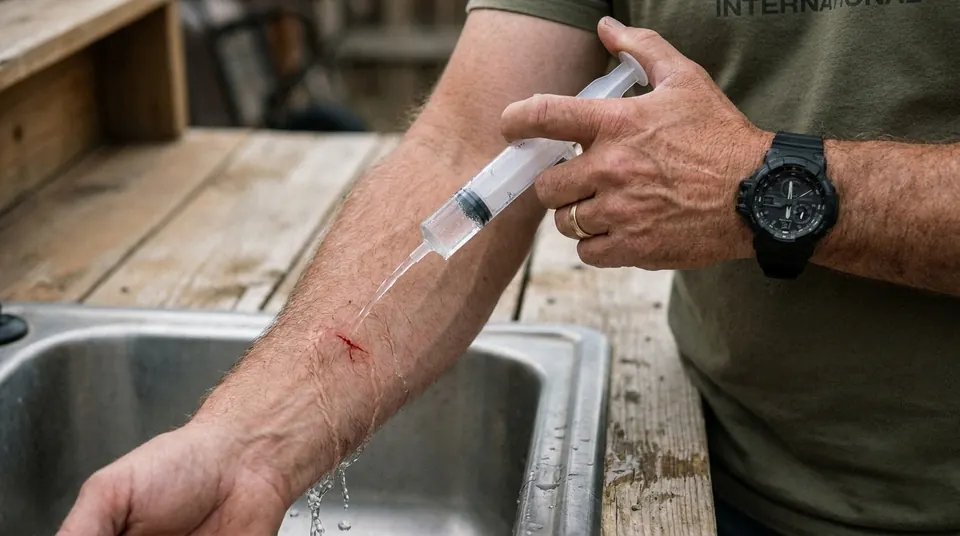
Safety: Don’t use a tourniquet or a pressure dressing for a minor scrape or clean cut. For those, see how to clean a wound. Also never remove soaked dressings to “look.” Add more instead.
Fakes: buy sealed, from a seller you can name
Knock-offs exist for bandages too. They can be missing the bar, use weak elastic or arrive with no sterile seal. Buy sealed packs from a seller you can name, such as the maker, a medical supplier or an authorized dealer. A surplus store is fine for a sealed pack with a date, not for a loose one.
This is the same rule the army surplus guide gives for the whole medical shelf: see what to buy at an army surplus store.
Expiry and storage
- Check the date printed on the package when you buy.
- Keep it sealed until you use it. The seal is what keeps the pad sterile.
- Avoid heat. A hot car or attic is hard on elastic and adhesives. Keep the kit in a cool, shaded place.
- Replace when expired. An expired bandage may still work as a wrap in a real emergency, but it shouldn’t be the bandage you rely on. Many people use an expired one for practice.
This is a rule of thumb: keep one practice bandage and one sealed one for each size.
Practice
Open a practice bandage, put it on a dummy limb such as a rolled towel, and time yourself. Then do it one-handed on your own arm. Do this once or twice a year.
For the real skill, find a class. The American College of Surgeons runs Stop the Bleed, a bleeding-control program. It teaches basic actions to control severe bleeding. The Red Cross also teaches first aid.
What the data say about why this matters
A review by Brian Eastridge and colleagues of US combat deaths from 2001 to 2011 found that about 87% of injury deaths happened before the casualty reached a medical treatment facility. Of those, 24.3% (976) were judged potentially survivable, and 90.9% of that group died of hemorrhage. Most were bleeding from the trunk (67.3%), then the junctional areas (19.2%) and the limbs (13.5%).
Read that with care. It describes combat injuries, not household ones. But the point carries: bleeding is the main thing that kills people who could otherwise live, and the first minutes belong to whoever is standing nearby. After a collapse, that is probably you.
What to do this weekend
- Buy one 4 inch and one 6 inch bandage, sealed, from a seller you can name.
- Buy a practice bandage or use an expired one, and try the steps one-handed.
- Find a sealed, in-date tourniquet for the same kit (see the tourniquet guide above).
- Sign up for a Stop the Bleed class.
- Check the dates on everything in your first-aid kit.
Frequently asked questions
What is the difference between an Israeli bandage and a regular bandage?
A regular bandage covers a wound. An Israeli bandage has a sterile pad and a plastic pressure bar that lets you apply and lock real pressure with a twist of the wrap. That makes it a pressure dressing you can put on one-handed, without holding the wound the whole time.
How tight should an Israeli bandage be?
Firm enough to stop the bleeding, not so tight that fingers or toes go pale, cold or numb. Check them often. If they change color or lose feeling, loosen and re-wrap. If blood soaks through, add more dressing on top instead of removing it.
Can I use an Israeli bandage on myself?
Yes. It was designed to be applied one-handed, including on yourself. Practice before you need it, because your hands will be shaky and slick in a real emergency. A hands-on class gives you the chance to try it with feedback.
What size Israeli bandage should I buy?
Common sizes are 4 inch and 6 inch wide, and some makers sell an 8 inch version. The 4 inch fits a hand, forearm or lower leg. The 6 inch suits a thigh, upper arm or torso. If you buy only one for a home kit, get the 6 inch, and add a 4 inch when you can.
When do I need hemostatic gauze instead?
Use it for deep wounds you can’t wrap, in the groin, armpit or neck, where a tourniquet won’t work. Pack it firmly into the wound toward the bleeding, then hold hard pressure. Follow the instructions on the package and get training first.
Does an Israeli bandage expire?
Yes, check the date on the package. The seal keeps the pad sterile, so keep it unopened. An expired one is fine for practice, but replace the bandage you rely on. Heat shortens the life of elastic and adhesive, so store the kit somewhere cool.
Sources
General information, not medical or professional advice. It does not replace hands-on training: take a Stop the Bleed or first aid class, and get real medical care for serious wounds. In an emergency, call 911 and follow official instructions. Disclaimer.